Connecting a game console to a TV is a straightforward process requiring simple steps. The process is similar whether you have a new or an old game console. This article will guide you through the steps to connect your game console to a TV.
Check your TV Inputs
Before connecting your game console to your TV, you need to check the inputs on your TV. Different types of inputs can be found on your TV, such as HDMI, VGA, RCA, and others. HDMI is the most common input type found on modern TVs. If your TV has an HDMI input, you can skip the following steps and proceed to Step 2.
If your TV does not have an HDMI input, you need to check the other available inputs. You can find the inputs on your TV’s back or side. If your TV has a VGA input, you can use a VGA cable to connect your game console to your TV. If your TV has RCA inputs, you can use RCA cables to connect your game console to your TV.
Connect the Console to the TV
To connect your game console to your TV, you need to follow these steps:
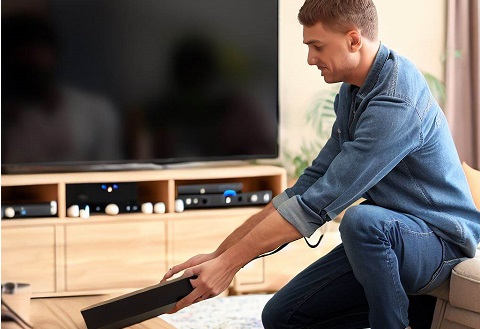
- Turn off both your TV and game console.
- Connect the HDMI cable to the HDMI output port on your game console. If your game console does not have an HDMI output port, you can use the RCA or VGA cable instead.
- Connect the other end of the HDMI cable to the HDMI input port on your TV.
- Turn on your TV and switch to the HDMI input to which you have connected your game console.
- Turn on your game console and follow the on-screen instructions to set up your console.
Configure the Console Display Settings
Once you have connected your game console to your TV, you need to configure the display settings on your console. The settings can vary depending on the type of game console that you have. Here are the general steps to configure the display settings:
- Go to the settings menu on your game console.
- Select the display settings.
- Choose the resolution that you want to use. You should select the highest resolution available if you have a high-definition TV.
- Adjust the screen size and aspect ratio to fit your TV.
- Save the settings and exit the menu.
Test the Connection
After configuring the display settings, you must test the connection between your game console and TV. You can do this by launching a game or a video on your console and checking if the image and sound are displayed correctly on your TV. If you encounter any issues, you can troubleshoot them by checking the connection, the settings, and the cables.

Conclusion
Connecting a game console to a TV is a simple process that can be done in a few minutes. Following the steps mentioned above, you can connect your game console to your TV and start playing your favorite games or watching videos. If you encounter any issues during the process, you can refer to the user manual of your game console or TV or seek help from a technician.
Frequently Asked Questions (FAQs)
What do I do if my game console doesn’t have an HDMI port?
If your game console doesn’t have an HDMI port, you can still connect it to your TV using other cables, such as RCA or VGA cables.
It would be best to connect the red, white, and yellow cables to the corresponding ports on your game console and TV to use RCA cables. The yellow cable is for video, while the red and white cables are for audio.
To use VGA cables, you need to connect the VGA cable to the VGA output port on your game console and the VGA input port on your TV. It would be best to connect an audio cable from your game console to your TV to get audio.
It’s important to note that using RCA or VGA cables may result in lower-quality audio and video than HDMI. Additionally, some newer TVs may not have RCA or VGA inputs, so check your TV’s inputs before purchasing the necessary cables.
What if my game console and TV have different resolutions?
If your game console and TV have different resolutions, you may encounter display issues, such as distorted or stretched images. To fix this, you need to adjust the display settings on your game console to match the resolution of your TV.
To do this, go to the display settings on your game console and choose the resolution that matches your TV’s resolution. If you need clarification on your TV’s resolution, check the manual or look up the specifications online.
It’s important to note that some older game consoles may not support high-definition resolutions, so you may need to adjust the display settings accordingly. Some TVs may also have settings that can help with display issues, such as overscan or aspect ratio adjustments. Be sure to check your TV’s settings if you encounter any display issues.
What if my game console is not displaying on my TV?
If your game console is not displaying on your TV, there may be several reasons. Here are a few troubleshooting steps you can try:
Check the connection: Ensure all cables are securely connected to the game console and the TV. Try unplugging and replugging the cables to ensure a proper connection.
Check the input: Ensure your TV is set to the correct input for your game console. Use your TV remote to switch between inputs until you see the game console display.
Check the power: Make sure that the game console and the TV are turned on and receive power.
Check the display settings: If the above steps don’t work, check the display settings on your game console to ensure they are set correctly for your TV. You may need to adjust the resolution or screen size to match your TV’s specifications.
Try a different TV or cable: If none of the above steps work, connect your game console to a different TV or use a different cable. This can help determine if the issue is with the game console, TV, or cable.
If you still can’t get your game console to display on your TV, it may be a hardware issue that requires professional help. Contact the manufacturer or a technician for assistance.